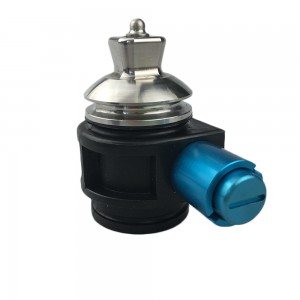
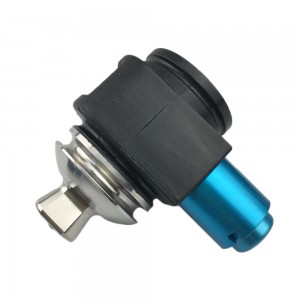
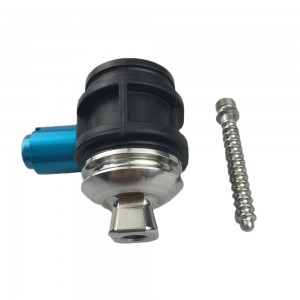
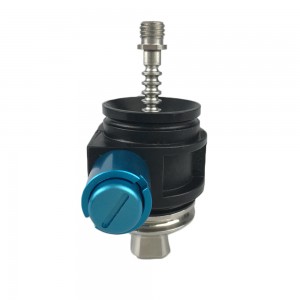
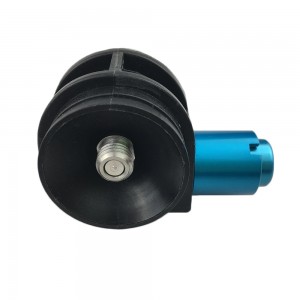
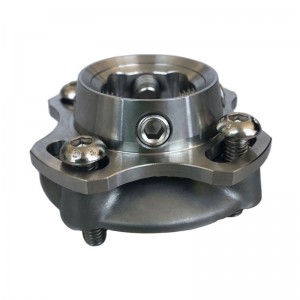
Hanging gel liner shuttle lock with Pyramid
|
Product name
|
Flat hanging gel liner shuttle lock with Pyramid
|
|
Item NO.
|
P498-P
|
|
Material
|
Aluminum
|
|
Product weight
|
310 g
|
|
Product Features
|
Smooth gear device, quiet operation; Convenient side suspension release button; Free adjustment of lock Pin can reduce operation;
Load-bearing 100kg; Built-in vertebral body. |
|
Application
|
Gear type lock device with vertebral body
|
|
Color
|
Black
|
Application Instructions
The ALPS Lock can only be used in Conventionally Laminated Sockets.
NOTE:The ALPS lock can be used when fabricating an ENDO skeletal prosthesis.If you intend to fabricate an EXO skeletal prosthesis,it is suggested you use the ALPS Lock.If you intend to fabricate a thermoplastic socket the ALPS lock is recommended.
Do not use the lock with thermoplastic sockets.
LAMINATED SOCKETS
Note:It is important that when faricating a new socket with an ALPS Lock that the nagative impression of the patient be made over the liner which will be used by the patient.
Modifying the Positive Model
a.Prepare the positive model in the ususal manner with the exception of the distal end.The liner will have left a protrusion during the castiong stage.
b. Rasp the protrusion to create a flat spot 1 3/4″in diameter.Again,this flat area must be perpendicular to the line of progression of the socket.Find the center of this area and drill a 3/8″hole approximately 1″deep.
Using the ALPS Fabrication Kit
a.Locate the Alignment Cone found in the ALPS Fabrication Kit FAB946.
b.Scuff the flat bottom of the Alignment Cone with 80-100 grit sandpaper.
Lightly coat the threads of the 5/16″*3″Anchor Bolt(FKB-16)with silicone grease and screw it into the Alignment Cone until it protrudes approximately1/4″beyond the flat surface.(figure1)
d. Using an instant adhesive,i.e.Superglue,secure the Alignment Cone to the distal end of the model. e.Once set, use plaster to blend the Cone into the Model.Remove any excess which may have fallen on the Alignment Cone.
f.Remove the Anchor Bolt and smooth the model for lamination.
Pre-Fabrication
a.Seal the positice and apply a PVA bag or casting balloon over the entire model.If the bag can be drawn in on the Alignment Cone,so the lock body covers the end of the PVA,then a PVA cap is not necessary.If this is not the case, you may have to cap the bag and make a samll hole for the Anchor Bolt.
b.Locate the CLutch housing Dummy Plug included with the ALPS Lock Kit.
c.Coat the threads of the Dummy Plug with silicone grease and screw it firmly into the side of the ALPS Lock body.
d.Protect the slot either with masking tape or by forcing a srap piece of 5mm Pelite into the slot.
e.Apply a bead of silicone grease inside the receiving cone of the ALPS Lock body.
f.Coat the threads of the 5/16″ Anchor Bolt with silicone grease and anchor the ALPS Lock body to the Alignment Cone.
g.Wipe away any excess grease and fill the head of the bolt with clay or putty.
h.Care should be taken so that resin does not seep through the Anchor Bolt hole. A silicone rubber lamination cap is useful in this situation.PVA tape will also provide moderate protection.


